We made 3 cards, and two favor boxes which I think could easily be used for MANY wedding projects from favor boxes, to petal pouches.... You could use these for your bridal shower too! Here are pics of the projects we made and step by step instructions on the favor pouches...
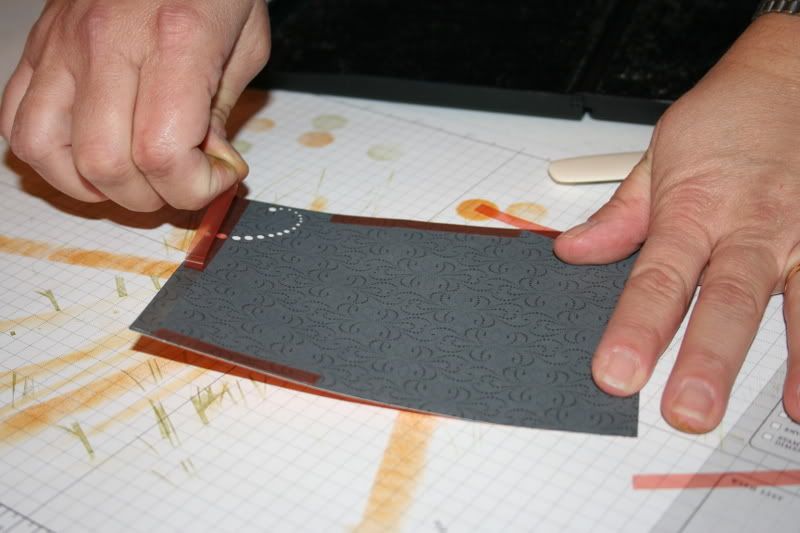
 Here is the Halloween Card we made:
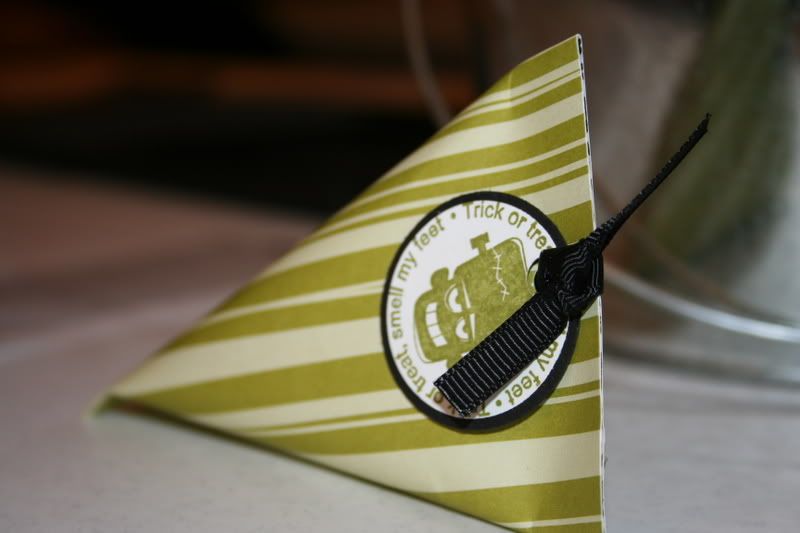
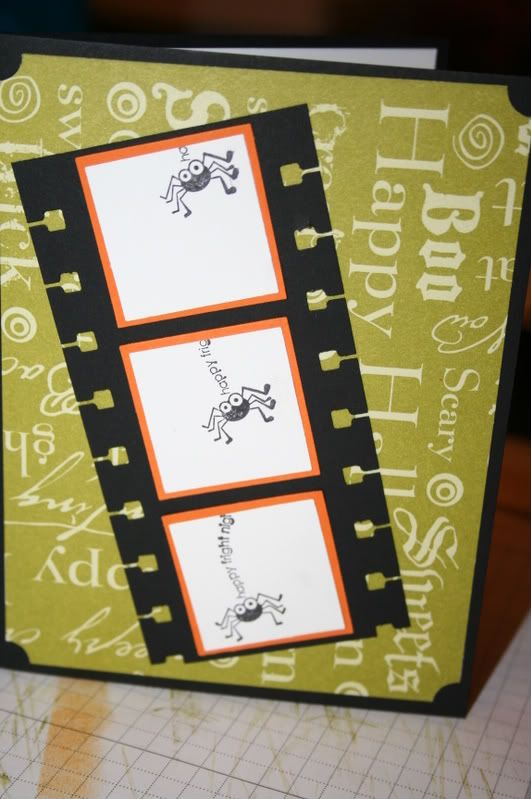 Here is a Pitcure of the favor pouches:
 So lets make som favor boxes!
What you will need:
Paper! (I used a 4x6 sheet of decorative paper, you can use anythign larger.. I wouldnt use anything smaller though... You wont be able to fit much.. I will be using 12x12 pages to make goodie favors for the kids in the wedding..
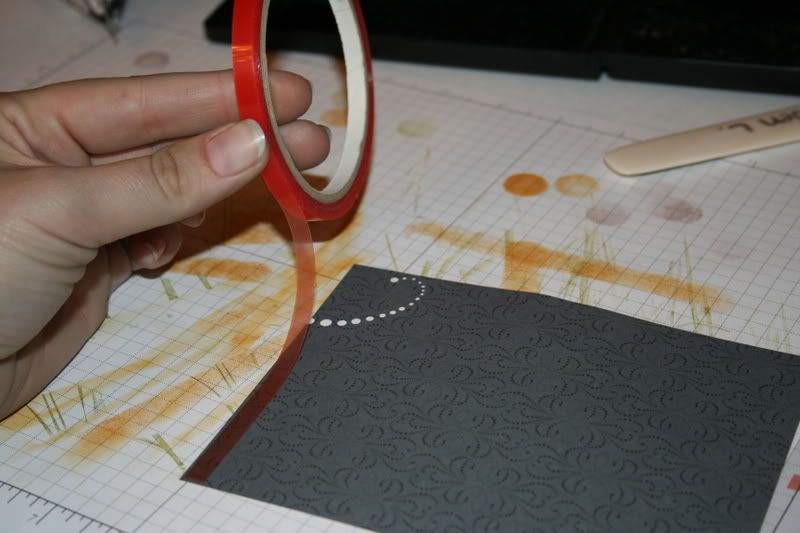
you will need some "Terribly Tacky Tape" Or any other tape that has a super hold!
Ribbon
Stamp and inkpad
Two sizes of round punches for the tag
A Whole Punch

Step 1:
You will need to line The Terribly Tacky tape along one whole edge of the paper..
Step 2:
1/3 of the paper size strip on the bottom left corner of the paper coming away from the side where you already lined the tape.. Place another piece a 1/3 size piece of tape in the middle of the top of the page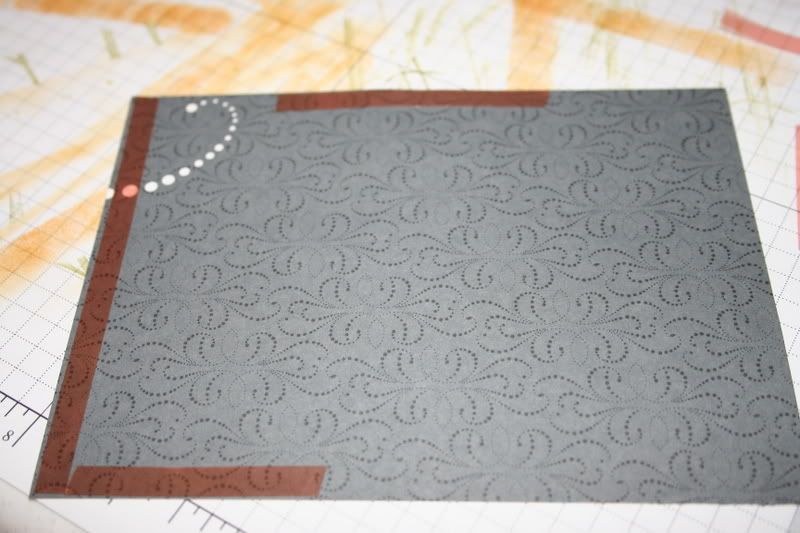 Step 3:
Peel the backing of the tape off on the long strip of tape.
Step 4:
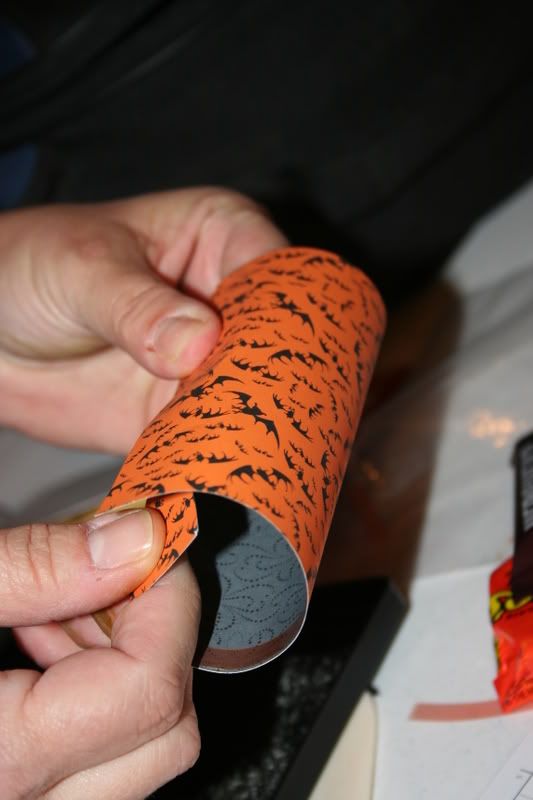
Roll the paper like onto itself and seal it so that it forms a "toilet paper roll"
 Step 5:
Peel the tape strip that is connected to the strip of tape that is already sealed (the corner strip) Squeeze the two sides together in order to seal the end of the tube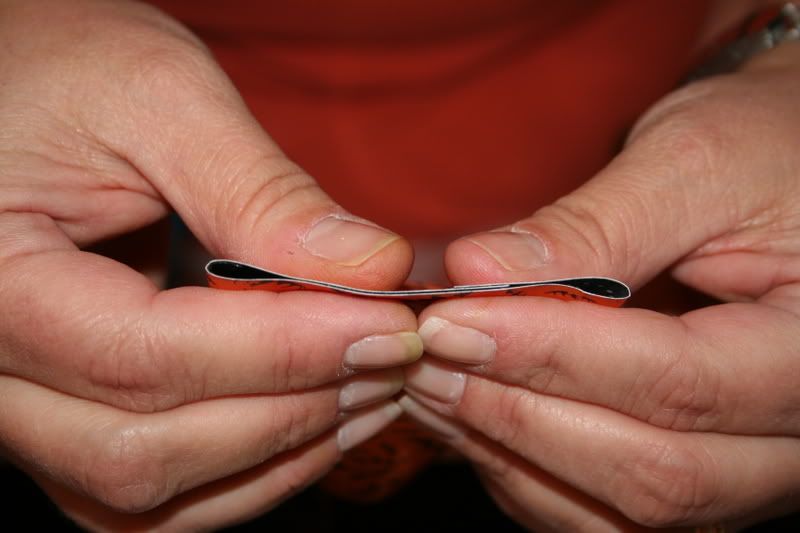 Step 5:
Place your favor, candy, truffles inside the favor box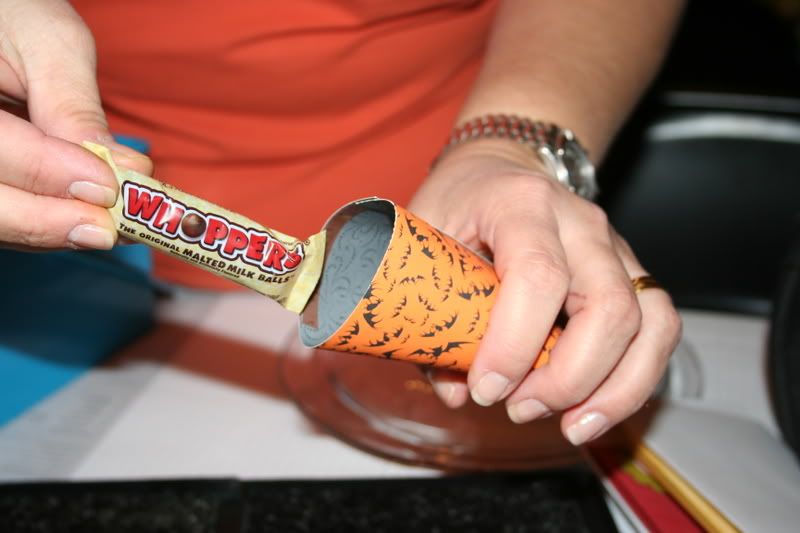
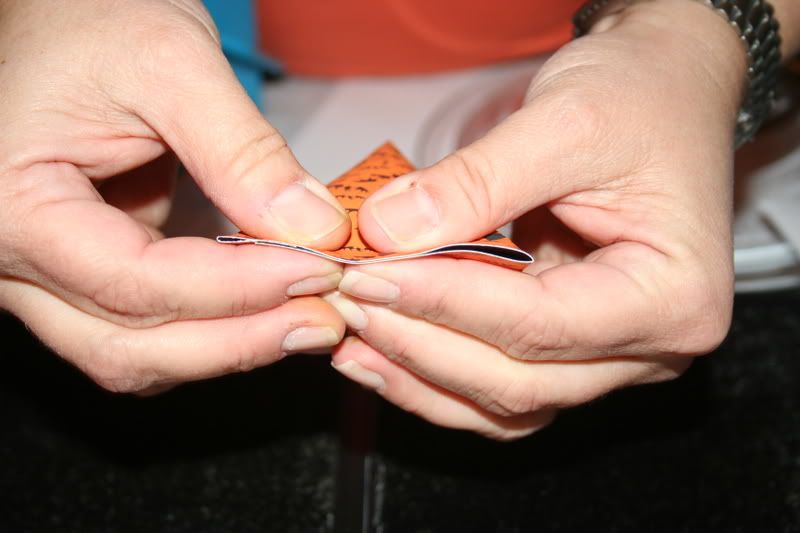
Step 6:
Peel the tape backing off of the opene end of the tube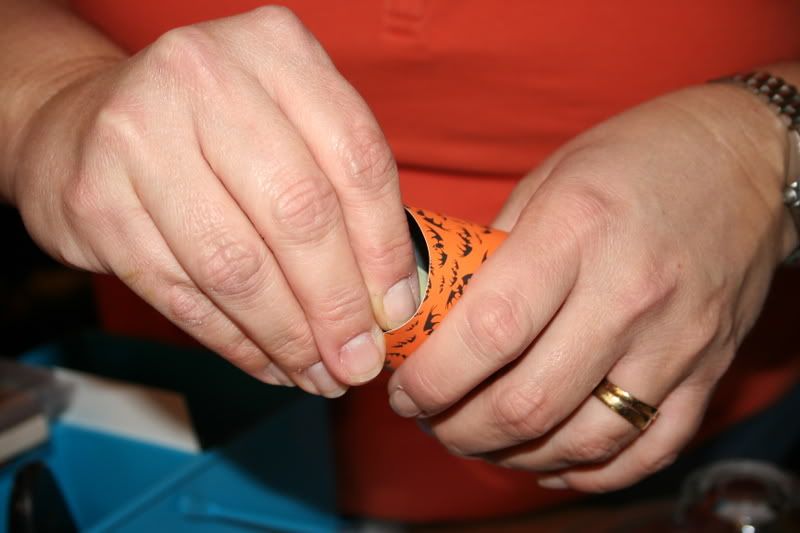 Step 7:
Press the two sides together in order to seal the favor box
This is what your end result will look like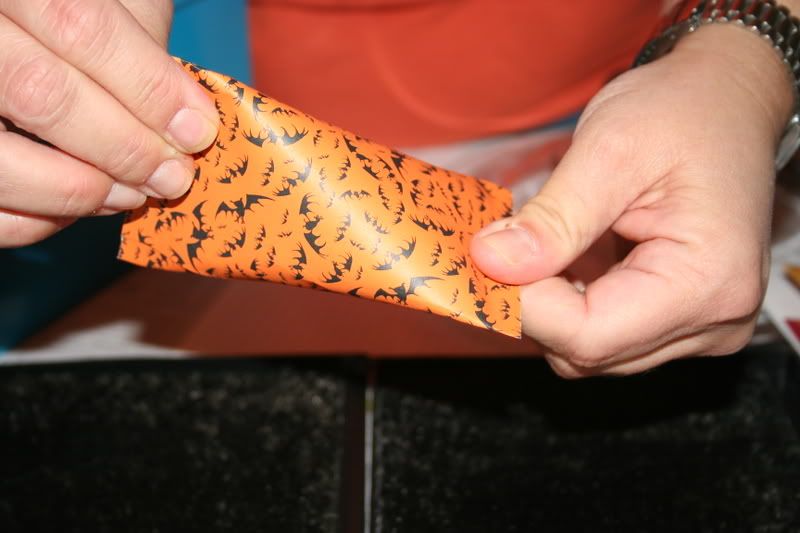
Step 8:
Stamp your design onto another piece of paper and punch it out with your smaller punch.. (you can also use square punches or use only one punch.. the options are endless)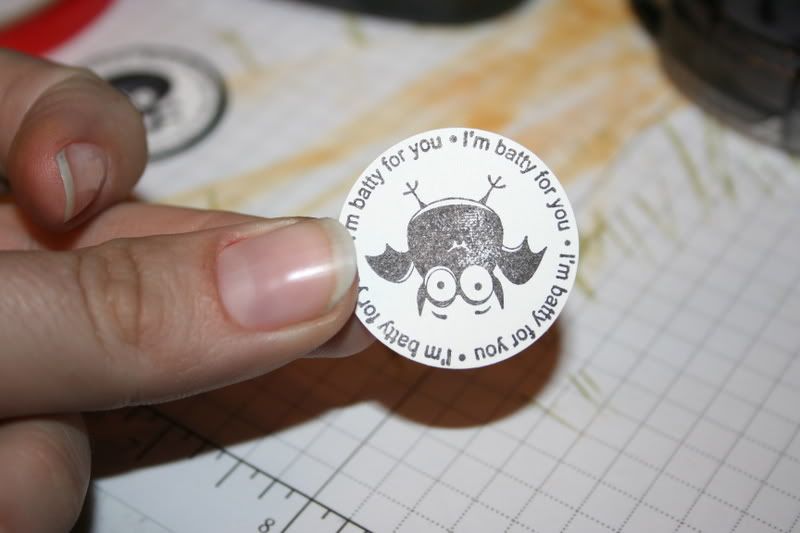 Step 9:
Punch the backing in a cordinating coler using the large sircle punch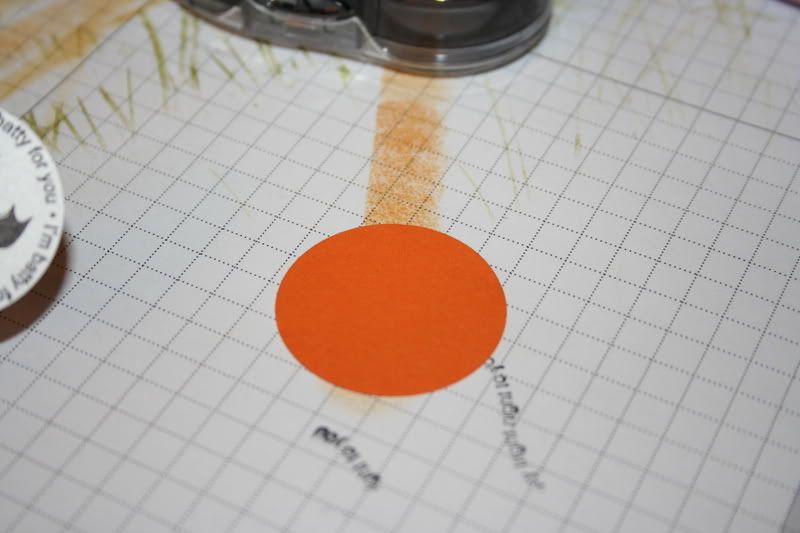
Step 10:
Adhere the two punches together
Sep 11:
Punch a whole in your tag
Step 12:
Punch a whole in the sealed edge of the favor box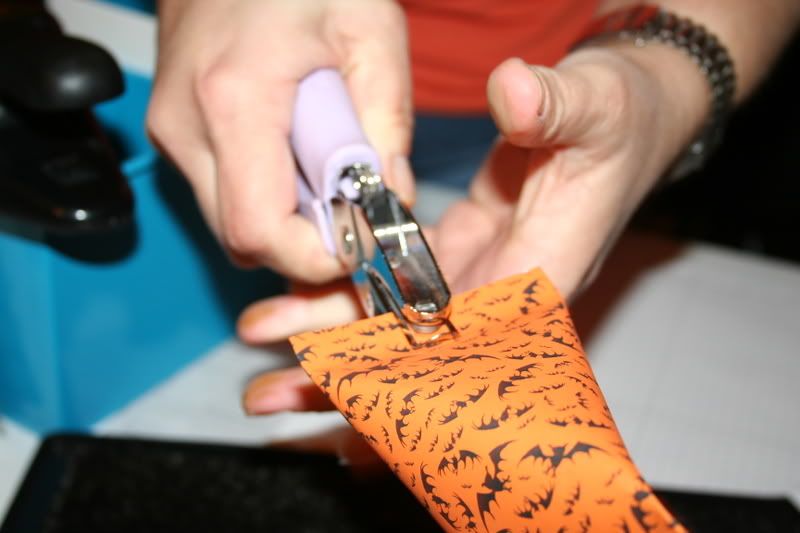
Step 13:
Linbe the tage and the favor box together and tie together with the ribbon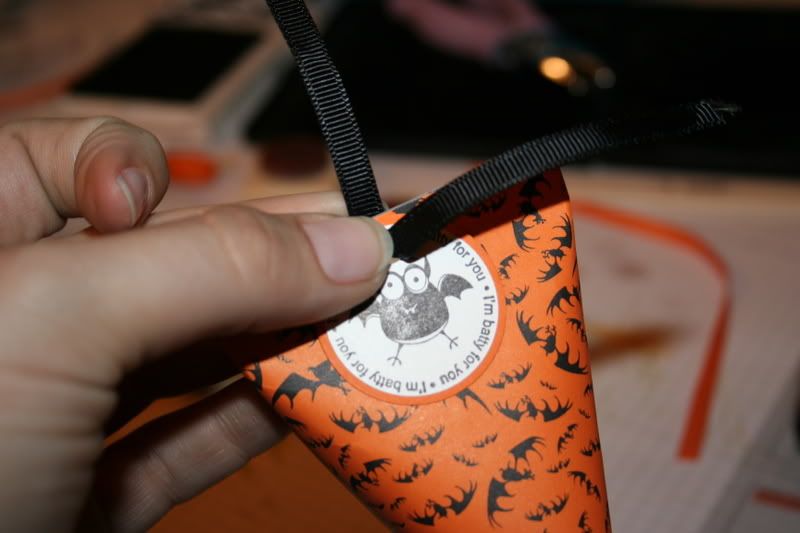
Here is the end result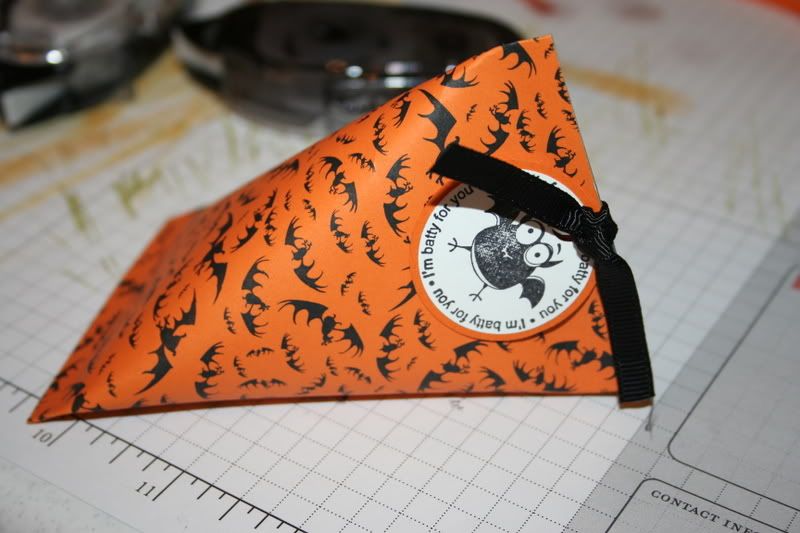


No comments:
Post a Comment