Alright Ladies.. So you have asked me to post directions as many of you would like to have a Mad Hatter themed party as well, pr you just want one of these cute hats. Please keep in mind that you can make this as big or small as you like… these are just the basic steps and you can modify them as you like. Also.. When I first started I used craft glue, then I also tried Hot Glue, and I used a tape runner believe it or not at some points.. Whichever you find will work best for you.. I definitely recommend starting with the craft glue. Also, keep in mind that when you choose your fabric you don’t want to use something TOO thick or too thin. If it is too thick you will have trouble getting it to stay and you will have to do a lot more stitching to keep things in place. If it is too thin the glue will show through the fabric.. For example thin muslin will not really work for this project. Please also post pics of your trials and errors, I would love to see yoru results as well!!
Supplies Needed:
Straight Pins,
Needle and thread in a coordinating color to your fabric
Hot Glue (Craft glue also.. you will see me use the hot glue gun in th epics)
About ¼- ½ a yard of fabric you would like to use
1 square of soft felt
1 square of stiff felt.. If you can not find stiff felt, Use two pieces of soft felt and craft glue them together.. or try craft foam paper..
Decorative pieces such a wreath picks, feathers, fake fruit piecesm beading, netting
Hair Comb or two (My original hat is taller then those in the tutorial so I needed two hair combs)
Scissors
Something to use as a stencil for the top piece of your hat, and the bas of the hat.
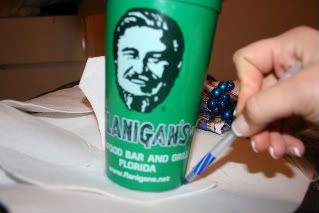 1. Using the stiff felt, I used the bottom of a cup to trace the top flat panel of the hat. Once you are done tracing this piece, Cut it out.
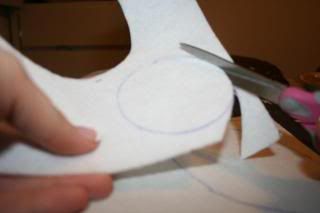
 2. Using the stiff felt again, I used the bottom of a hat I already had made to trace the bottom base of the hat. When I first started I used a CD and then sketched it slightly bigger then the cd.. you can also use an upside down bowl. Once you are done tracing.. cut out the circle..
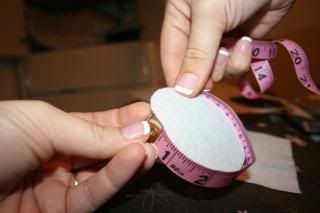 3. Using a tape measure, measure the circumference of the top of the hat. This is the length of the side panel you will need to make. I also wrapped a piece of felt around the hat to double check the length.
 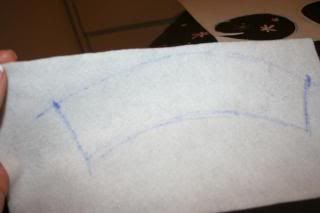 4. Once you have the length, sketch an arch on your soft felt in the same length as the circumference. The steeper the arch, the more of an angle you will form with your top hat. The straighter the line, the more of a perpendicular hat you will have (Similar to a traditional top hat.. I wanted an arch to give it that odd affect of the top of the hat getting bigger).
5. Decide how tall you would like your hat and sketch a similar arch at that distance below your first arch. Once you are done, cut this piece out.
 6. We are now going to cover each piece with your selected fabric. With the top portion of your hat, measure out a piece of fabric just slightly larger than the top of the hat. Using glue, (whichever you chose to use) Glue the hat top onto the piece of fabric.
7. Using a pair of scissors, you will need to cut slits in the pieces of fabric that are hanging over the hat top… This will allow you to glue the pieces down evenly.
 8. Using your glue, glue the pieces of cut fabric to the under side of your hat top until they are all attached.
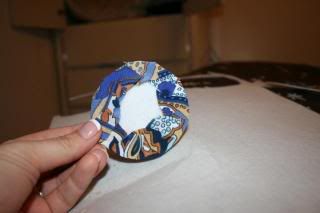
 9. You will need to repeat this step with the piece of soft felt that will make the side wall of the hat.
10. Cut a piece of fabric just slightly larger than the side hat piece of soft felt. You need to glue this piece down as well, and then cut the side edges in order to fold them over.
 11. Glue down the cut pieces onto the opposite side of the soft felt
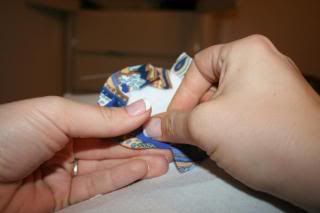
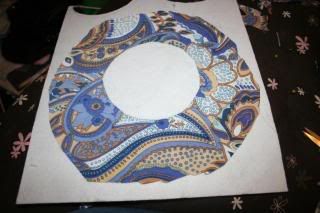 12. The base of the hat is the hardest piece since both sides of the base will be seen. You will need to cut a piece of fabric large enough to cover the hat completely by placing the stiff felt in the center and pulling up all of the sides to the center. You will need to glue this piece down in the center.
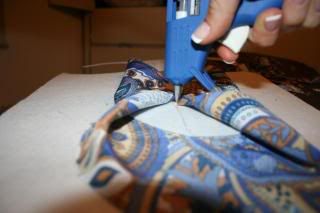 13. I use a little glue to hold down the main pieces of fabric down to the opposite side of the hat. I put the gleu in a cross pattern and pull up one of each of the four sides
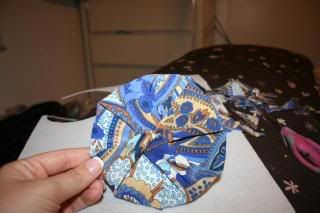 14. Using a needle and thread.. Pull the corners up to the center of the hat and sew down in a pattern or style you like.. I try to fold mine to make it nice and neat.. remember that the center where everything comes together will be covered by the top of the hat so it is ok if it looks a little rough.
 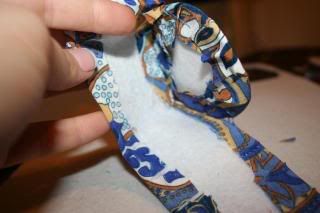 15. Using straight pins, fast the top flat piece of the hat to the side wall of the hat.
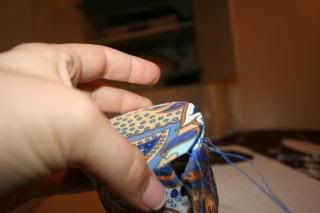 16. Then, use a needle and thread to attach them together.
 17. Once you have completed attaching the top to the side wall, stitch down the side of the side wall bringint to the two ends of the sidewall together.
 18. Fill the top of the hat with any extra fabric you may have. This will help to keep the hat standing straight.
19. Using straight pins, fasten the top of the hat to the base where you would like to have it..
20. Using a needles and thread, attach the top of the hat to the base of the hat.
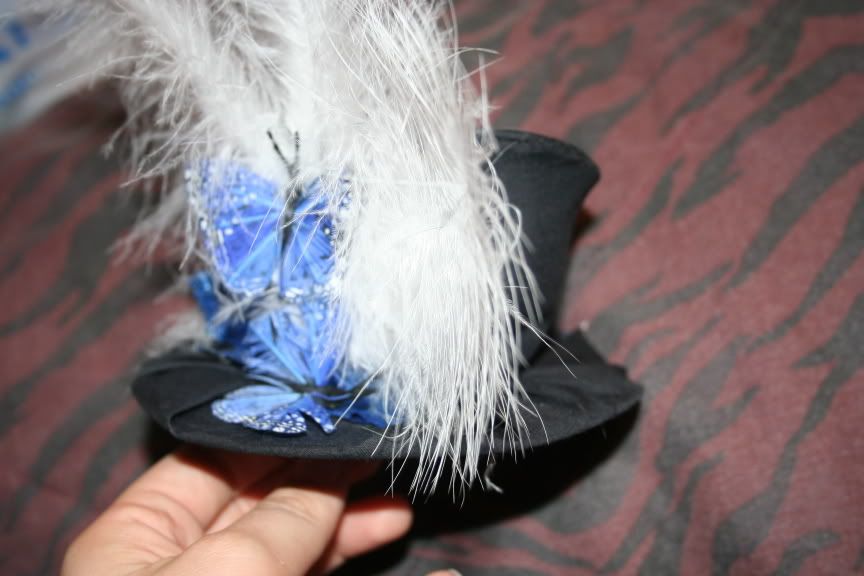
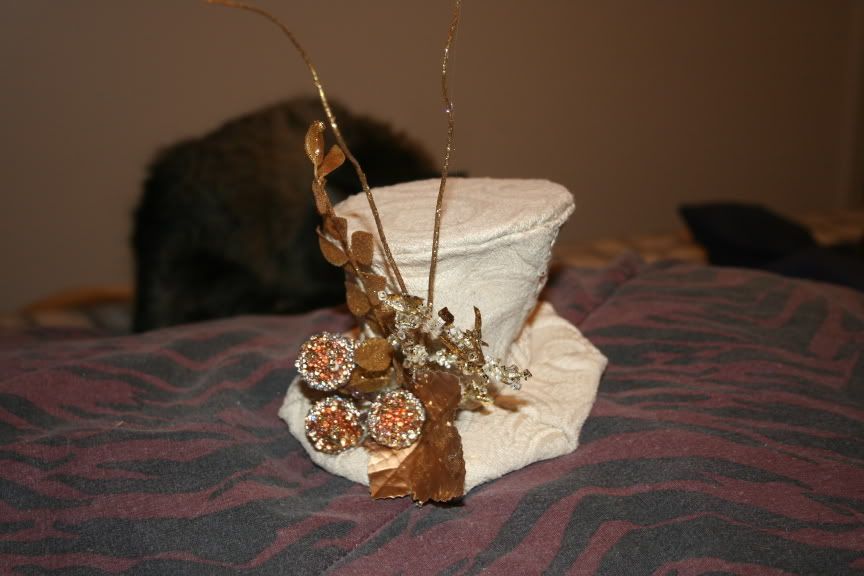
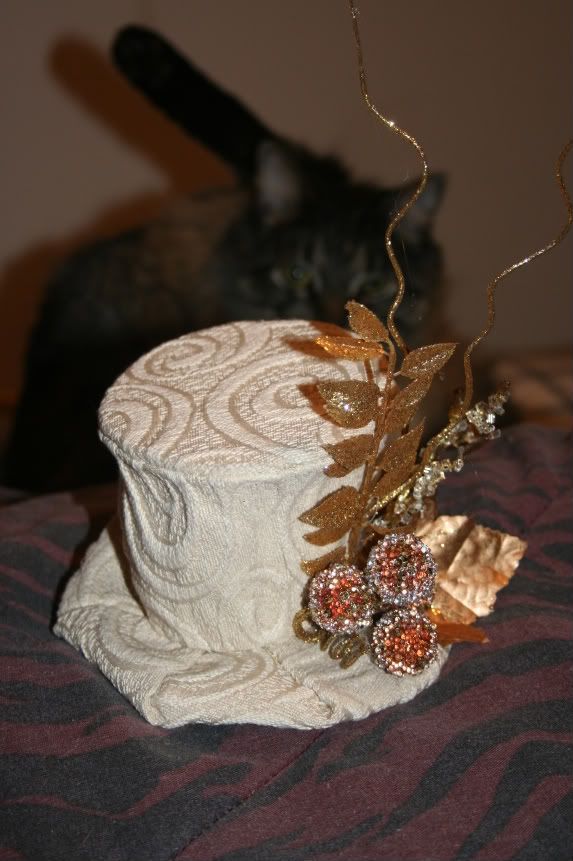
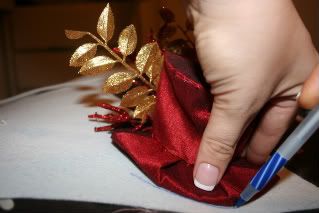
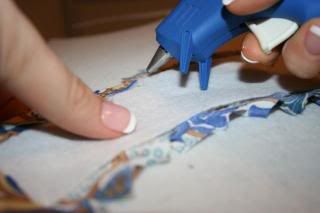
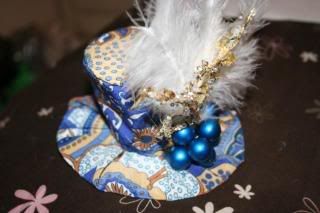 21. Once this is complete, you can decide where you would like to add your decorative pieces. I usually use a needle and thread as well as hot glue(hot glue really helped me a lot when it came to the different picks.. Also, I found that if you are using picks that have a wire inside them, you can usually bend them slightly and slide the bottom of the wire under that hat to hide the excess.
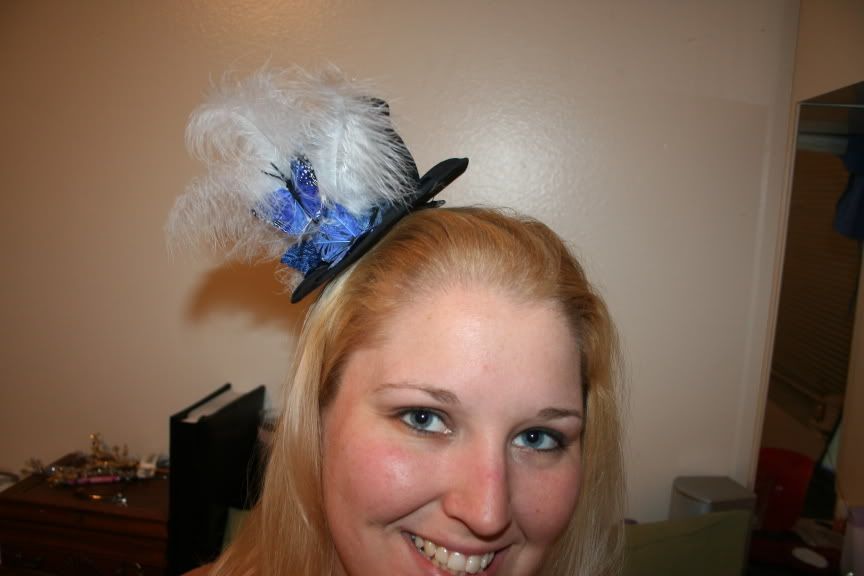
22. Once you have completed attaching your pieces, you can sew a hair comb or two to the bottom of your hat.
Enjoy ladies! If you have any questions please feel free to let me know!