I think this would make for a fabulous wedding day hairstyle..
Have you found any other videos that you enoy that would be a great tutorial? I would lvoe to try them!
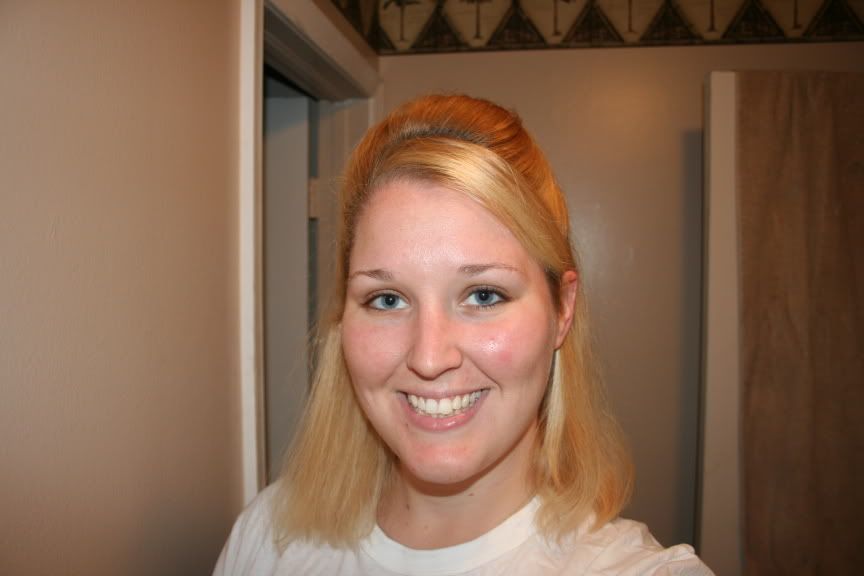
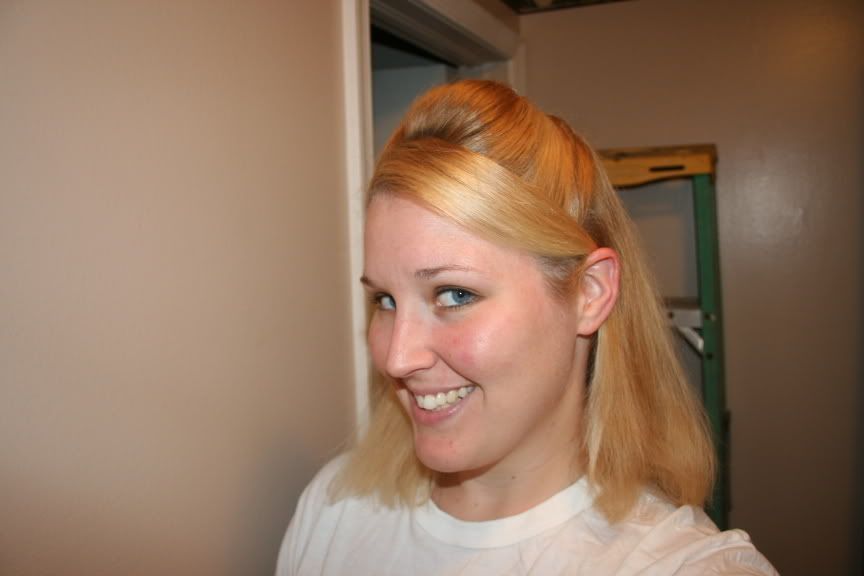
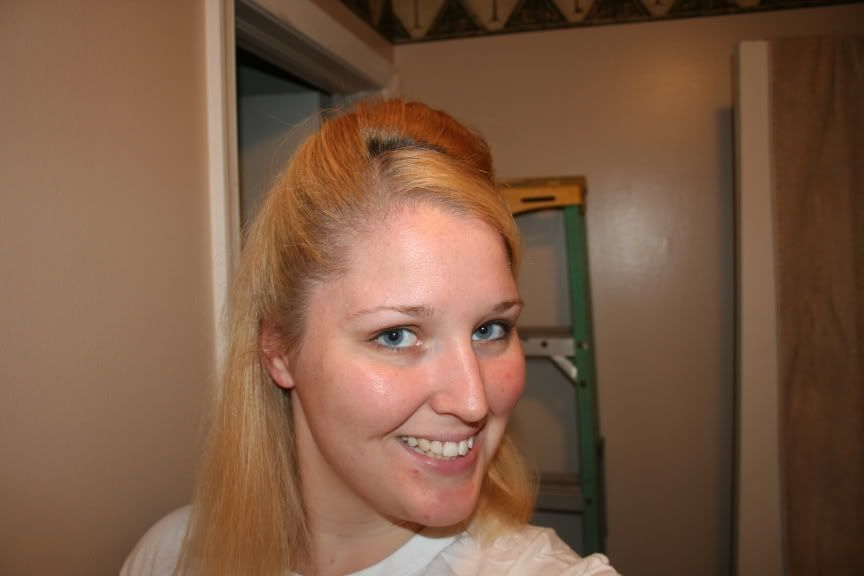
Here are my results!
Please excuse the lack of make up


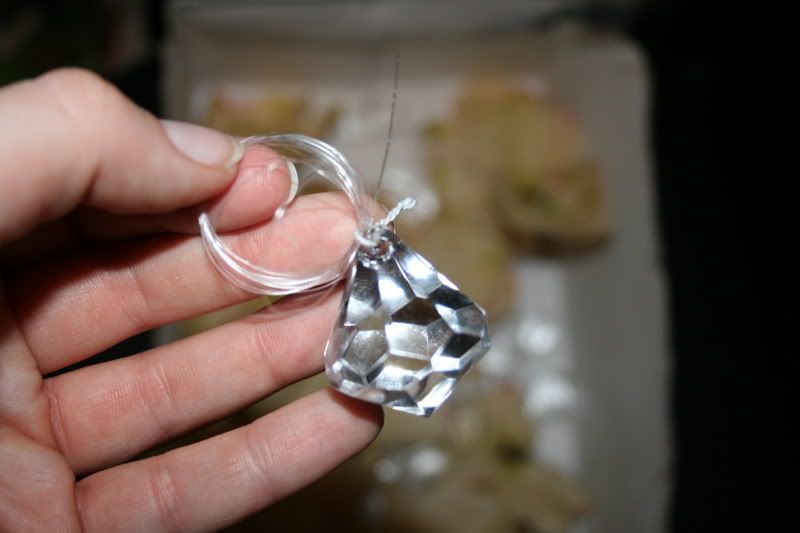
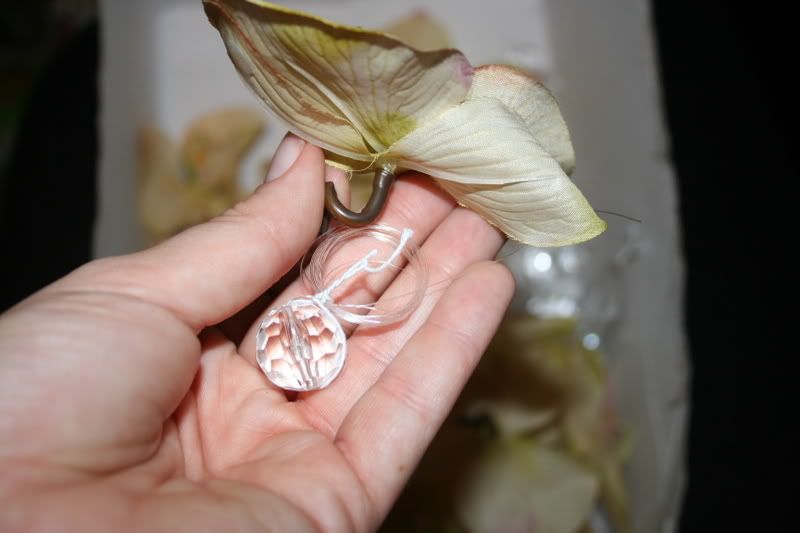 I also recommend rolling up all of the strings and tying them with a twist tie before storing them away in a safe location.. I ended up having to cut four strands to pieces because they got very knotted together
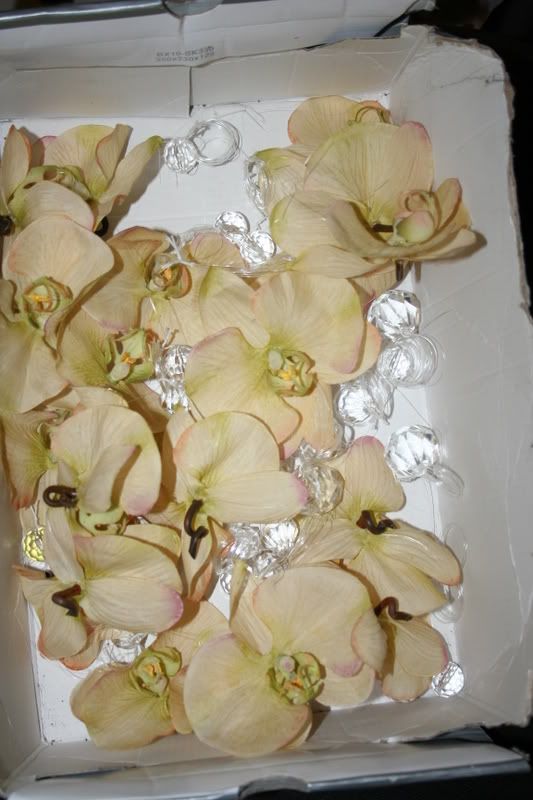
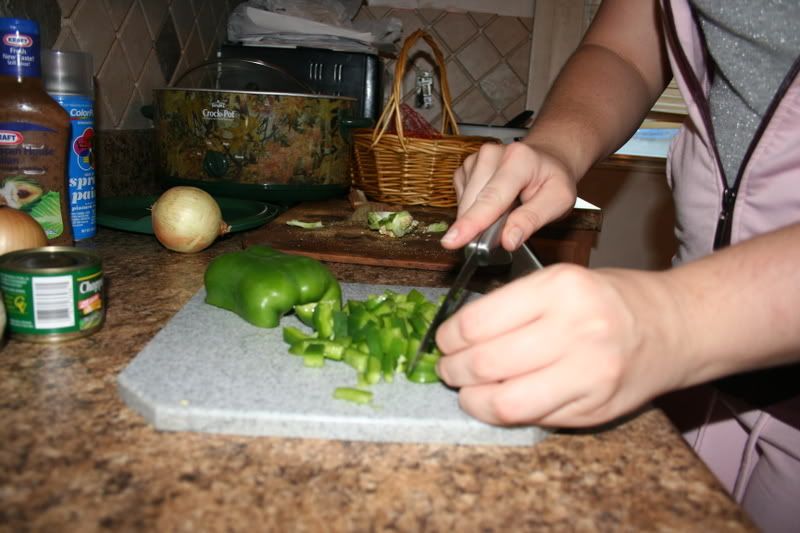
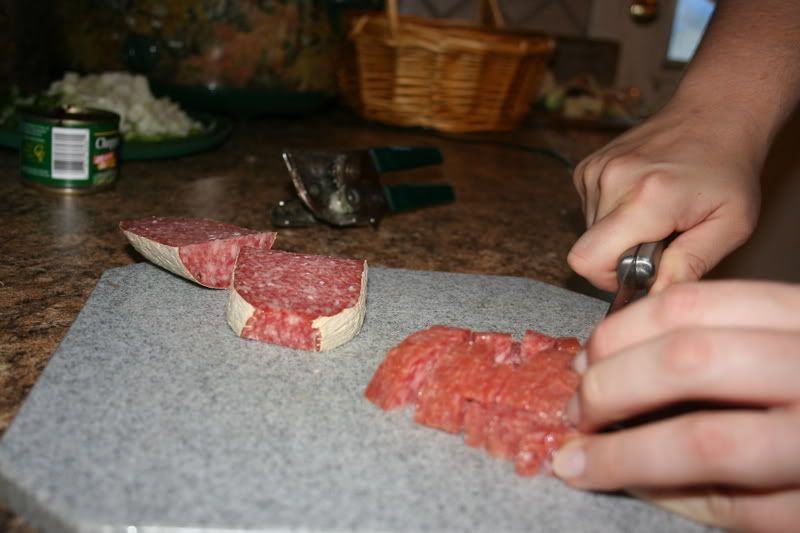
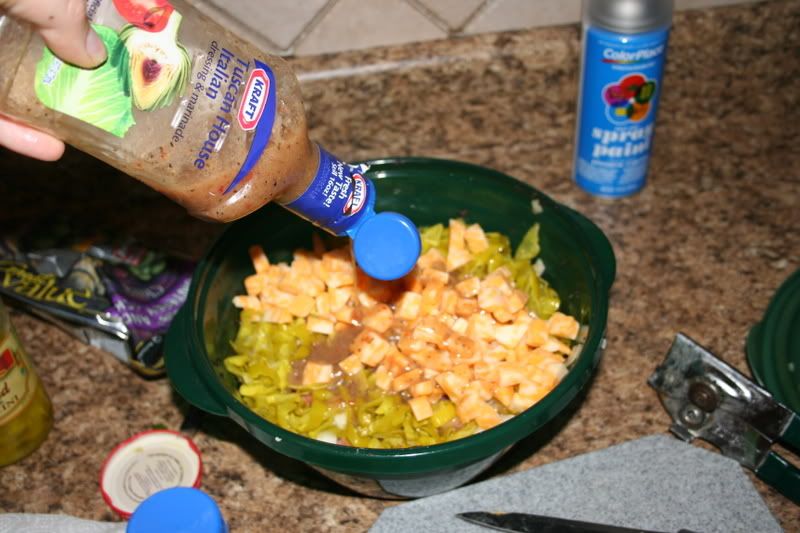
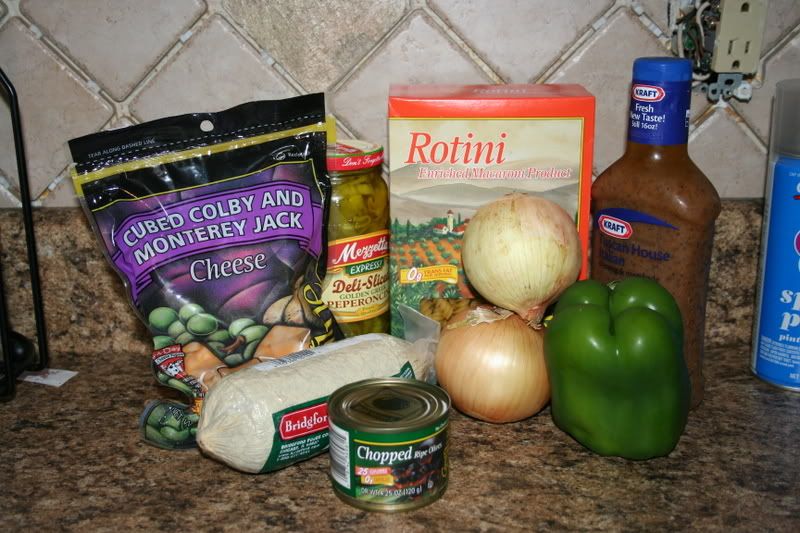 .. Antipasta Pasta Salad.. So I thought I would share.. You can be as creative as you like with this dish You can add as many veggies as you like and you can get as healthy as your mind can imagine.. I start with the basic items..
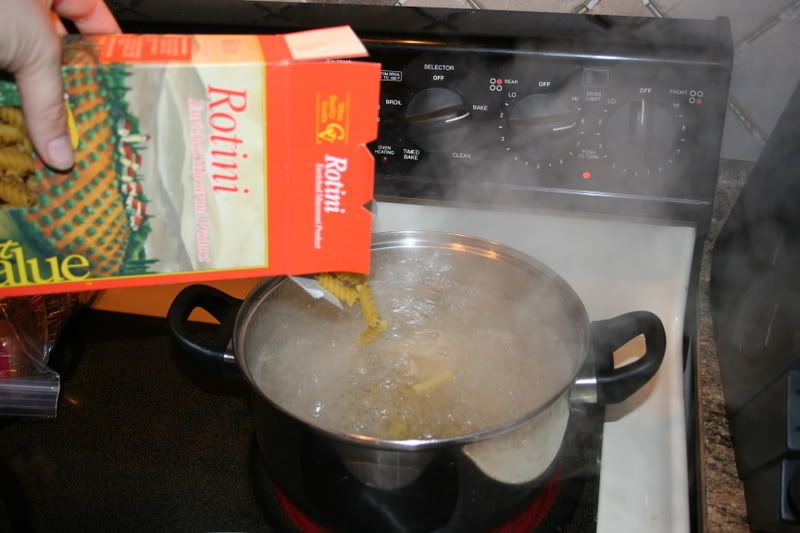
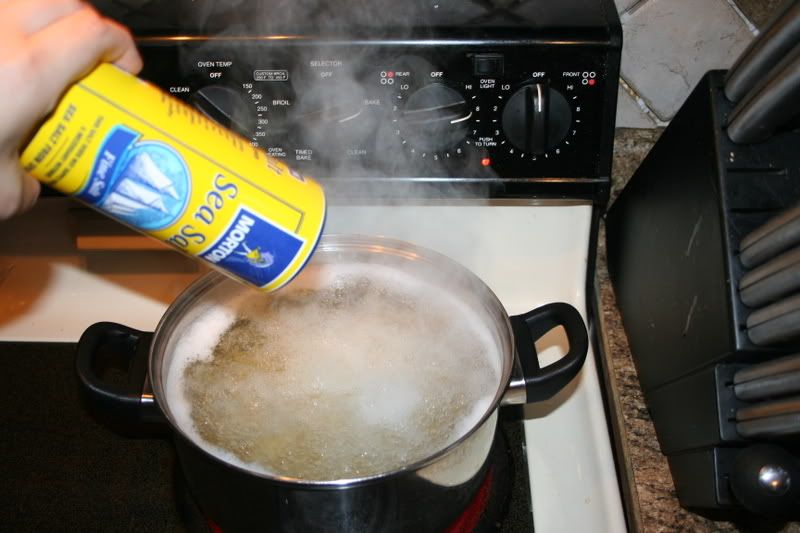 Step 1:
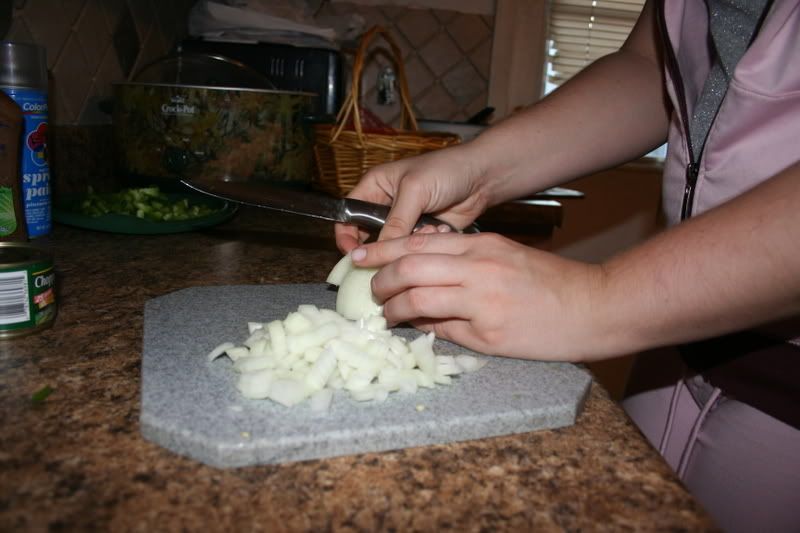
 Step 2:
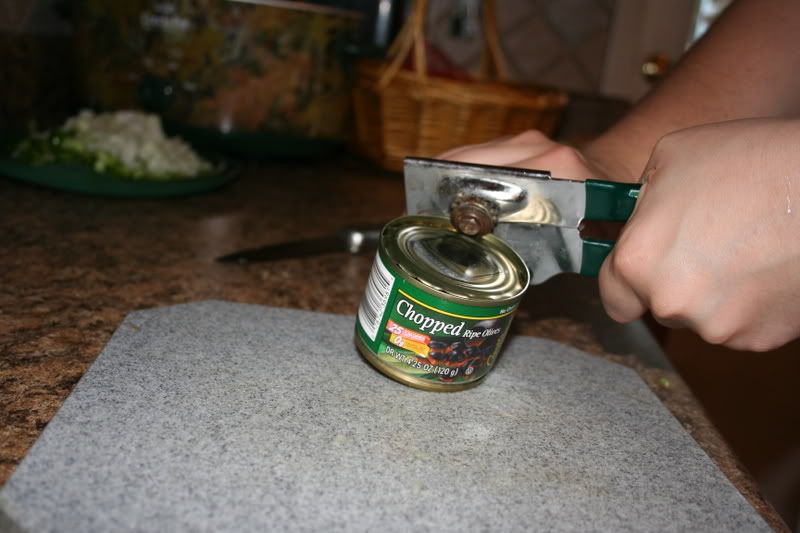
 Step 3:
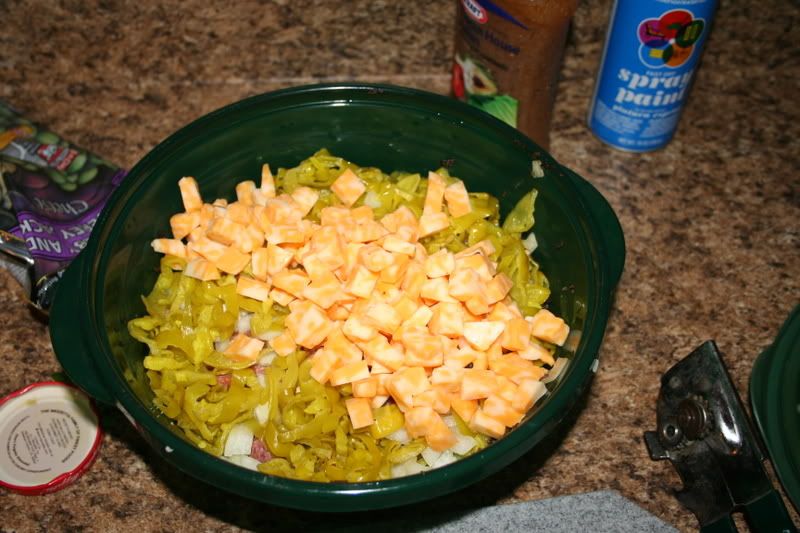
 Step 5:
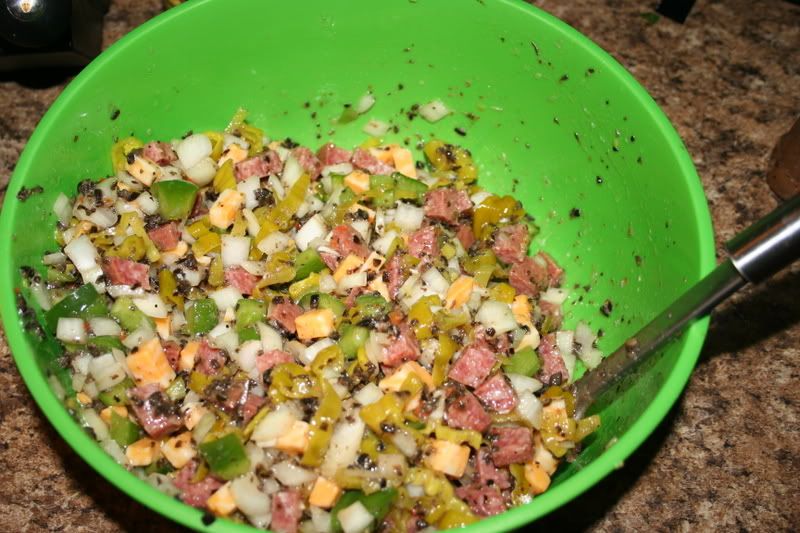 Step 8:
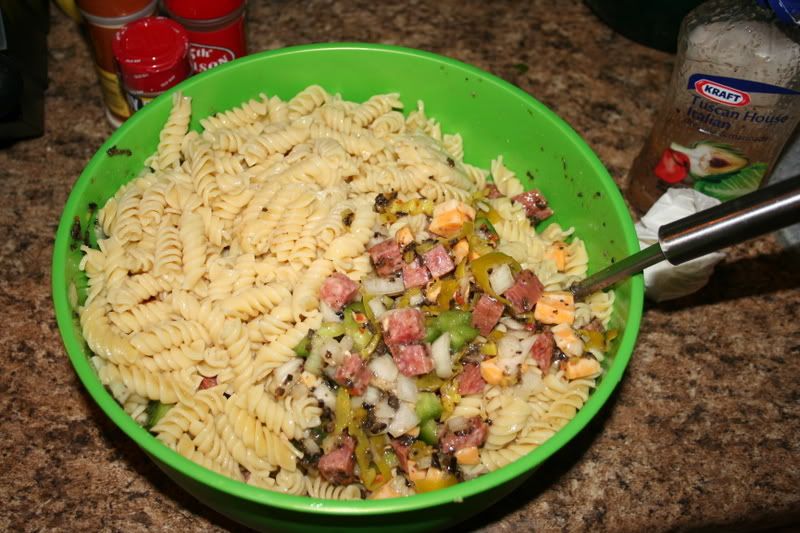 Step 9:
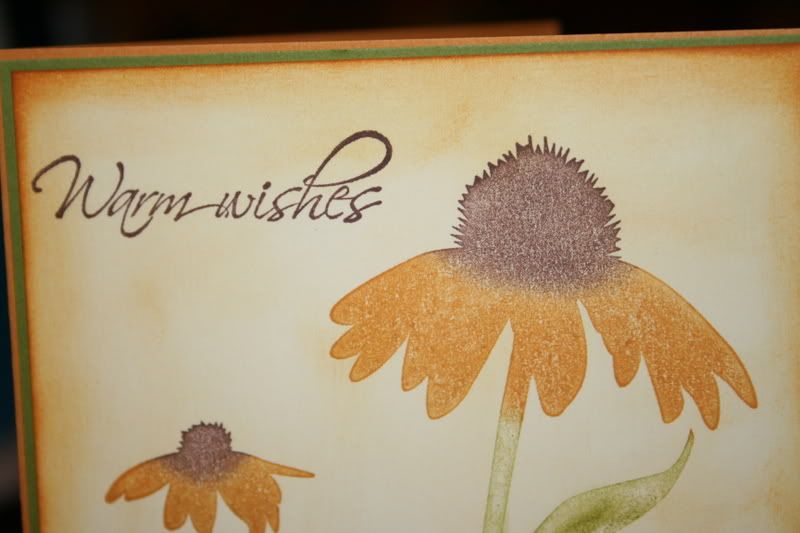
 Here is the Halloween Card we made:
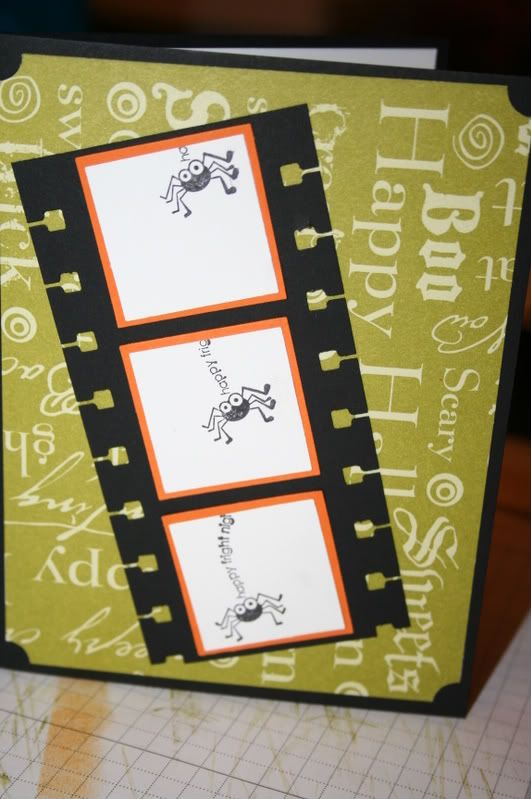 Here is a Pitcure of the favor pouches:
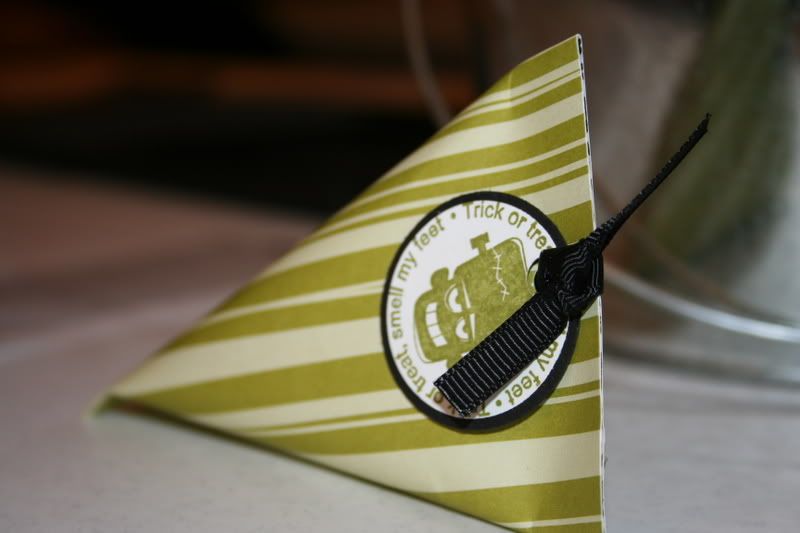
 So lets make som favor boxes!
Step 1:
You will need to line The Terribly Tacky tape along one whole edge of the paper..
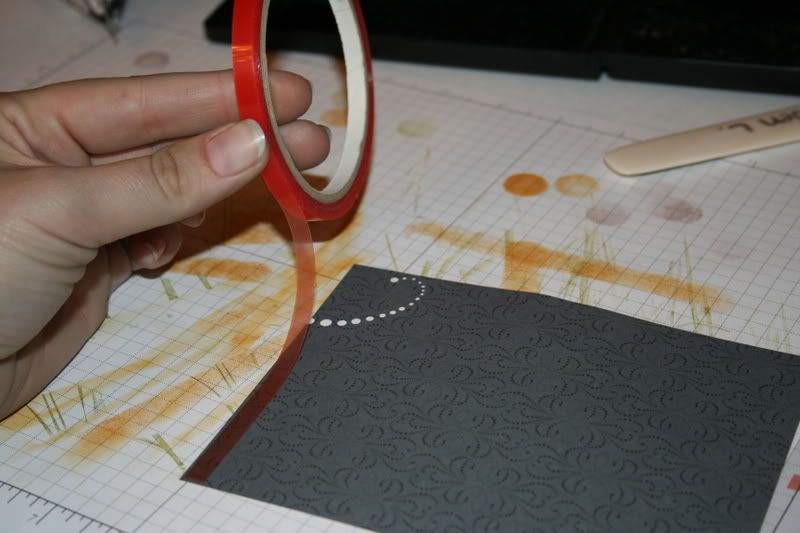
Step 2:
1/3 of the paper size strip on the bottom left corner of the paper coming away from the side where you already lined the tape.. Place another piece a 1/3 size piece of tape in the middle of the top of the page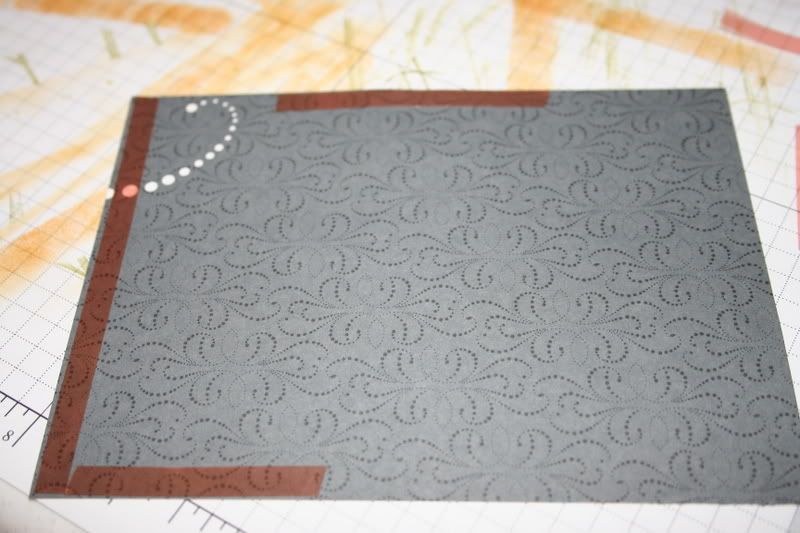 Step 3:
Peel the backing of the tape off on the long strip of tape.
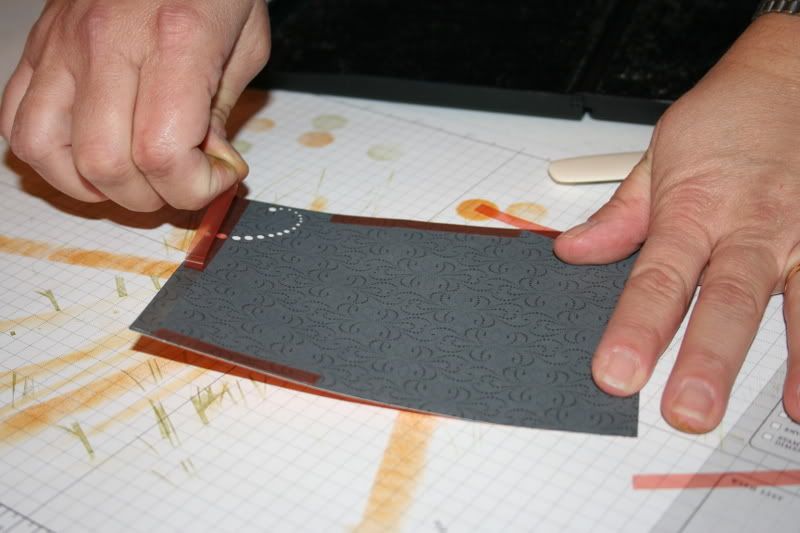
Step 4:
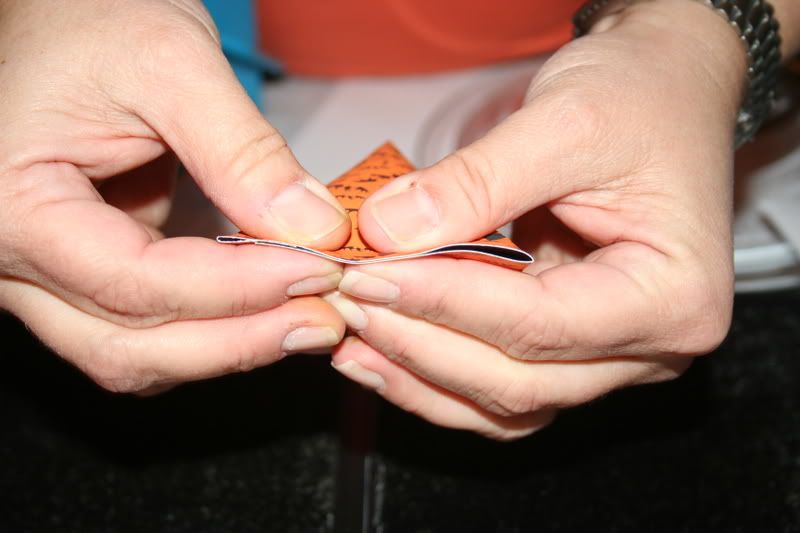
Roll the paper like onto itself and seal it so that it forms a "toilet paper roll"
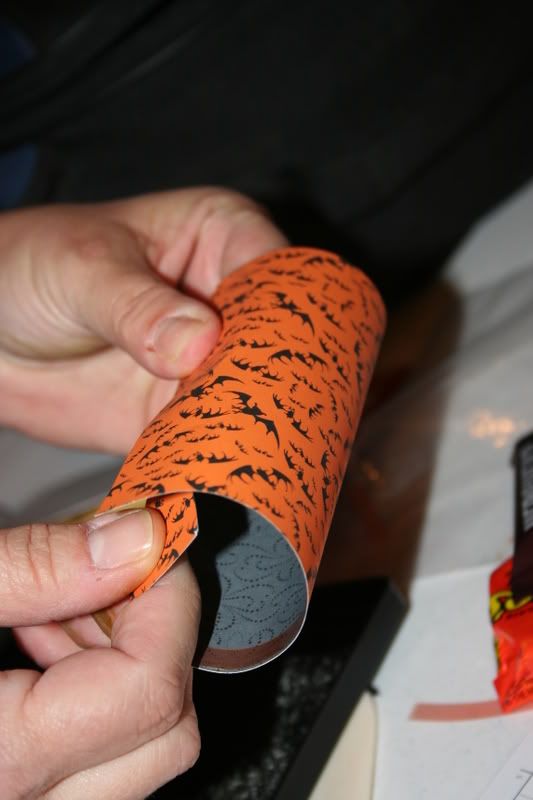 Step 5:
Peel the tape strip that is connected to the strip of tape that is already sealed (the corner strip) Squeeze the two sides together in order to seal the end of the tube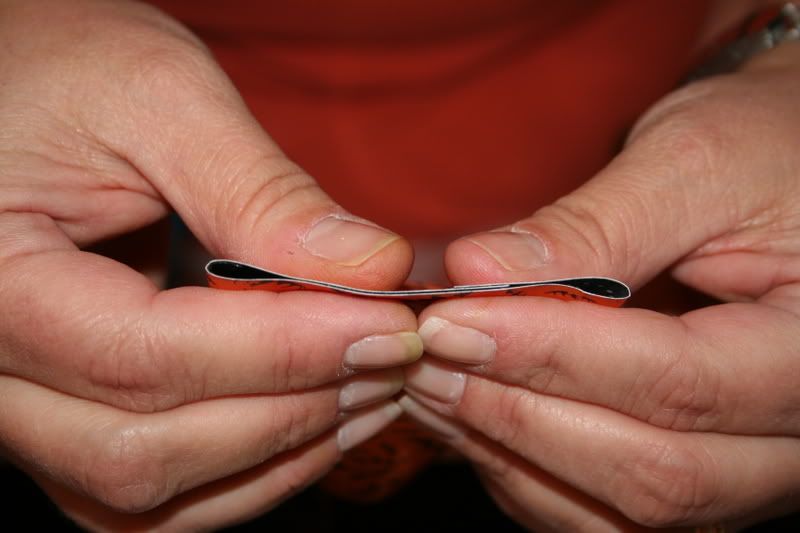 Step 5:
Place your favor, candy, truffles inside the favor box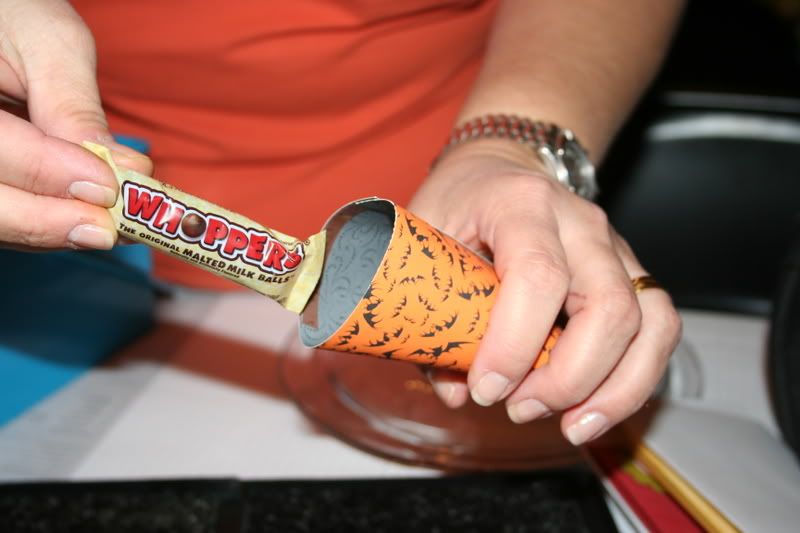
Step 6:
Peel the tape backing off of the opene end of the tube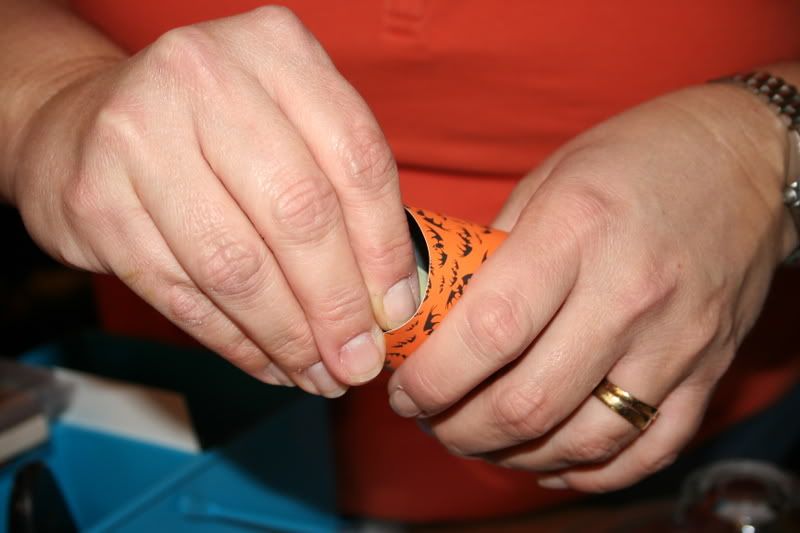 Step 7:
Press the two sides together in order to seal the favor box
This is what your end result will look like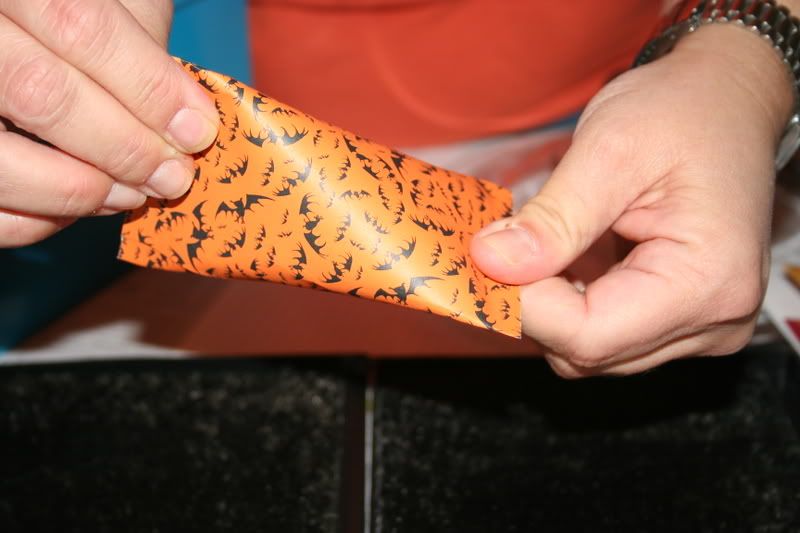
Step 8:
Stamp your design onto another piece of paper and punch it out with your smaller punch.. (you can also use square punches or use only one punch.. the options are endless)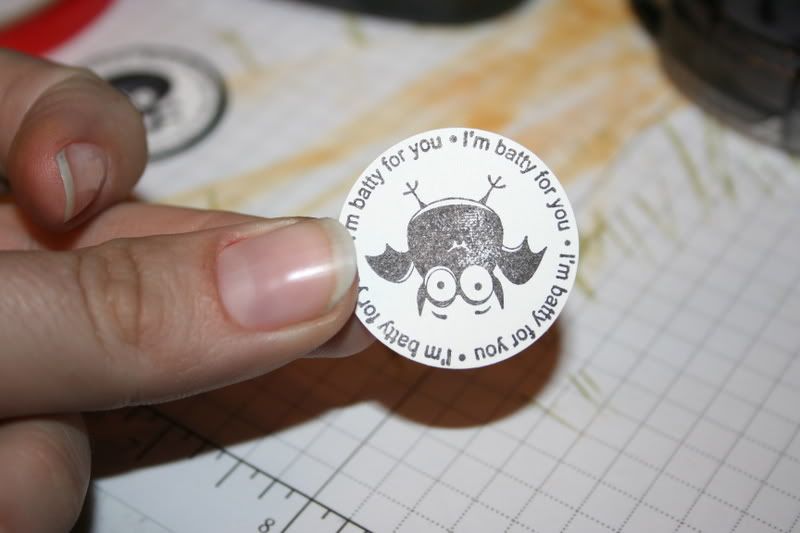 Step 9:
Punch the backing in a cordinating coler using the large sircle punch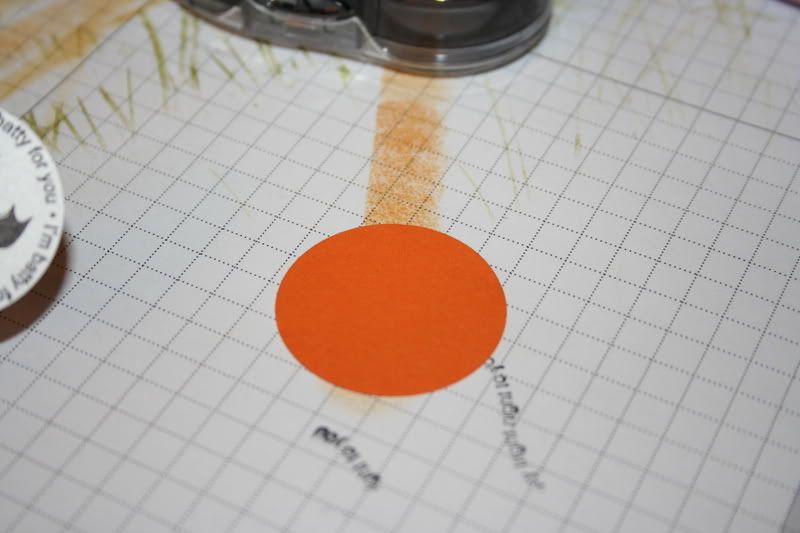
Step 10:
Adhere the two punches together
Sep 11:
Punch a whole in your tag
Step 12:
Punch a whole in the sealed edge of the favor box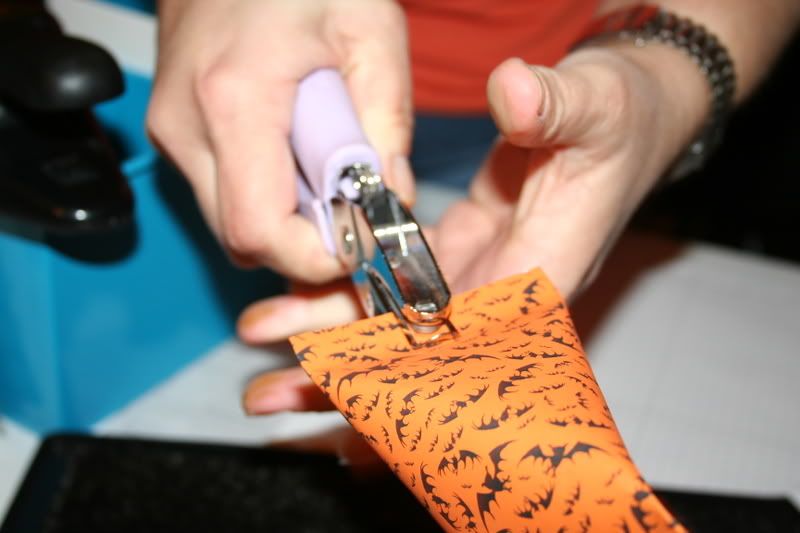
Step 13:
Linbe the tage and the favor box together and tie together with the ribbon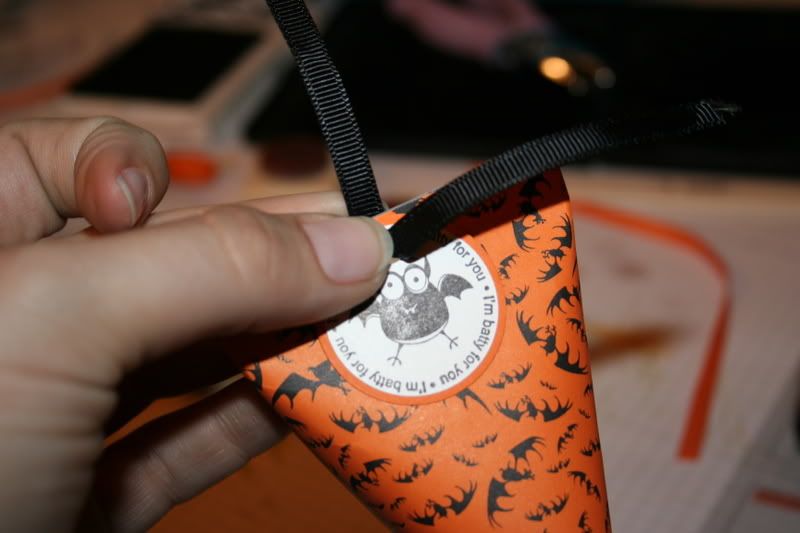
Here is the end result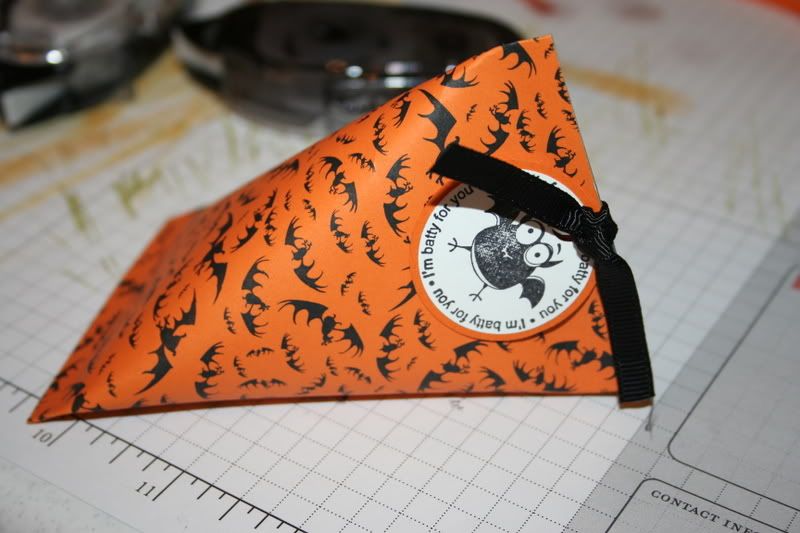


 It took a while to get the printer color right but here is what I used:

